
Tip & Trick
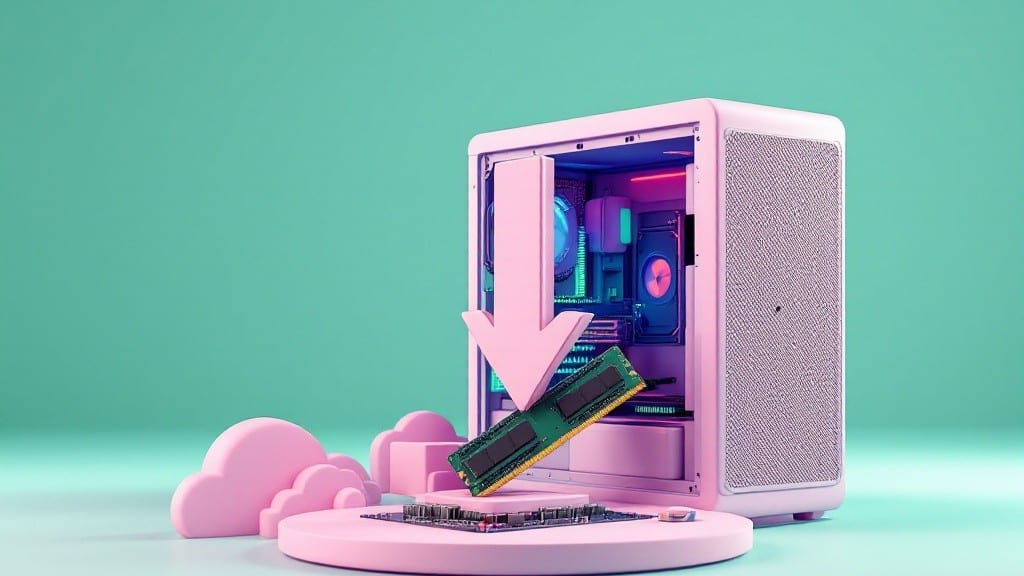
Installing RAM in a desktop PC isn't as scary as it looks—my uncle let me solder memory modules at 12, and I still remember the first time I saw a stick click into place.
The key is taking your time, checking compatibility first, and using that wrist strap to avoid zapping your new RAM before it even touches the motherboard.
Most modern systems use DDR4 or DDR5, and the slots are color-coded to match your RAM type, but always double-check your motherboard manual for exact specs.
You'll need just three things: the RAM itself, a Phillips screwdriver (for the case), and an anti-static wrist strap or grounding mat.
Pop open the case, locate the RAM slots (usually near the CPU), and gently press down until you hear that satisfying click—no force needed, the clips lock automatically.
If your system has two sticks, install them in slots 2 and 4 (not 1 and 3) for dual-channel performance, which is where most speed gains happen. I've seen beginners jam sticks in the wrong slots and wonder why their system wasn't faster.
After installation, boot up and enter BIOS (usually by pressing F2 or DEL during startup) to confirm the RAM is detected. If not, reseat the modules or check for bent pins—this happens more often than you'd think.
Windows should recognize the new memory immediately, and you'll see that extra gigabyte (or two) reflected in Task Manager under "Installed RAM." The difference in performance is noticeable right away, especially when multitasking or running memory-heavy apps like Photoshop or games.
Pro tip: If your system won't boot, don't panic—just reseat the RAM or try one stick at a time to isolate the issue. Most motherboards have a memory compatibility list online, so check there before buying.
And remember, RAM is one of the easiest upgrades to make—once you've done it once, you'll wonder why you didn't do it years ago. My first ThinkPad upgrade still gives me that same rush of satisfaction every time.
📚 In This Guide
- What you need
- Instructions
- Tips and common mistakes
- Wrapping up and next steps
What you need
- ● RAM module(s): Compatible with your motherboard (check specs for type—DDR4, DDR5, etc.—and capacity—8GB, 16GB, 32GB, etc.).
- ● Screwdriver (Phillips #2): For removing the PC case’s side panel.
- ○ Anti-static wrist strap (optional but recommended): Prevents static electricity from damaging components.
- ○ Compressed air (optional): Cleans dust from slots and RAM modules.
- ● Stable, flat surface: A desk or table to work on.
- ● Patience & a steady hand: RAM slots are delicate—no rushing!
- ● Motherboard manual (digital or physical): For slot location and RAM compatibility.
- ● Power supply unplugged: Safety first—always work on a powered-off PC.
Step-by-Step instructions for installing RAM in a desktop PC
Here's the straightforward process I use every time—no stress, just clear steps.
Power Down and Prepare Your Workspace
First, shut down your computer completely and unplug the power cable from the back. Hold the power button down for 5-10 seconds to discharge any residual energy in the motherboard. This small step prevents static electricity from damaging sensitive components like the RAM.
Next, lay your case on a clean, flat surface. Remove the side panel by unscrewing the 2-4 thumbscrews (usually located at the corners). Place the panel aside in a safe spot. Before touching any internal parts, ground yourself by touching the metal chassis—this ensures any static electricity dissipates safely.
Locate and Remove Existing RAM (If Needed)
Open the case and locate the RAM slots on the motherboard. They’re long, rectangular slots near the CPU, often covered by a small plastic clip or tab. If you’re upgrading, gently press the clips inward to release the existing RAM sticks. They’ll pop up slightly—grasp them by the edges and lift straight out.
I always check the existing RAM for dust or damage before removing it. If the clips feel stiff, don’t force them—use a bit of pressure to pop them free. Once removed, place the old RAM aside in an anti-static bag or on a non-conductive surface.
Align and Insert the New RAM
Take your new RAM sticks and align them with the slots. Notice the notch on the bottom edge of each stick—this must match the groove in the slot. If it doesn’t align, flip the stick over and try again. The RAM will only fit one way.
Press firmly but evenly down on both ends of the stick until you hear a satisfying click and feel the clips snap into place. This confirms the RAM is seated correctly. If it doesn’t click, the stick isn’t fully inserted—press down again until it does. Never force it sideways once it’s aligned.
Secure the Case and Power On
Reattach the side panel by aligning the screws with their holes and tightening them snugly. Don’t overtighten—just enough to hold the panel in place. Once secured, plug the power cable back in and turn on the computer.
As the system boots, listen for any beeps or error messages. If the RAM is installed correctly, the system should start normally. If you hear repeated beeps or see an error screen, double-check that the RAM is fully seated and the clips are locked in place.
Verify Installation in BIOS and Windows
After the system boots into Windows, open Task Manager by pressing Ctrl + Shift + Esc. Go to the Performance tab and check the Memory section. It should now reflect the total amount of installed RAM. For example, if you added 16GB, the total should match your new capacity.
For extra confirmation, restart the computer and enter the BIOS (usually by pressing Delete or F2 during startup). Navigate to the Memory or System Information section to verify the RAM type, size, and speed. If everything checks out, you’re all set!
Tips & tricks for installing RAM without the frustrations
Even with clear steps, a few small details can make all the difference between a smooth installation and a frustrating experience. Here's what I've learned after helping dozens of people upgrade their systems.
Static Electricity Prevention: I can't stress this enough—static electricity is the silent enemy of RAM installation. Beyond just grounding yourself by touching the metal chassis, I recommend working on a non-carpeted surface or even better, an anti-static mat if you have one. The 5-10 seconds you spend holding the power button in Step 1 isn't just about safety—it's about giving any built-up static time to fully dissipate from the motherboard. Trust me, I've seen RAM sticks fail because someone skipped this step.
RAM Slot Identification: Most motherboards have matching pairs of RAM slots marked with numbers like A1/B1 or colored differently. In Step 3, always start with the lowest-numbered slot or the slot farthest from the CPU. This ensures you're using the optimal slot configuration for dual-channel performance. If you're unsure, check your motherboard manual—it'll show you the recommended slot pairing for your specific model.
The Click Test: That satisfying click when you seat the RAM isn't just confirmation—it's your assurance the stick is properly connected. In Step 3, if you don't hear the click, don't force it. Instead, remove the stick completely and try again. I've seen people wiggle the RAM back and forth trying to make it click, which can actually damage the contacts. The stick should go in smoothly until it clicks—no wiggling needed.
Visual Inspection: After you've secured the RAM in Step 4, take a quick look through the case window (if your case has one) to confirm both clips on each end are fully down. I've had students who thought their RAM was installed correctly, only to find one clip wasn't fully engaged when we checked. This simple visual confirmation can save you from hours of troubleshooting later when your system won't boot properly.
Pro Tips for Install Ram In A Desktop Pc
- Even with clear steps, a few small details can make all the difference between a smooth installation and a frustrating experience.
- Static Electricity Prevention: I can't stress this enough—static electricity is the silent enemy of RAM installation.
- RAM Slot Identification: Most motherboards have matching pairs of RAM slots marked with numbers like A1/B1 or colored differently.
Frequently asked questions
Got questions about upgrading your RAM? You’re in the right place! Here are some of the most common concerns—and their straightforward answers—to help you feel confident before diving in.
Can I install RAM myself if I’ve never done it before?
RAM installation is one of the easiest hardware upgrades—no soldering or complex tools required. Just follow the steps in this guide, take your time, and you’ll be up and running in minutes. Pro tip: Watch a quick YouTube tutorial if you’re unsure about your motherboard’s slot layout!
Do I need to shut down my PC completely before installing RAM?
Yes! Always power off your PC and unplug the power cable before opening the case. Static electricity can fry components, and you don’t want to risk damaging your new RAM (or yourself). Bonus: Touch the metal part of your case to discharge static before handling the RAM sticks.
What if my RAM slots are already full?
Can I still upgrade?
If all four slots are occupied, you’ll need to remove existing RAM to add more—but only if it’s the same type and speed. Mixing RAM types (e.g., DDR4-3200 with DDR4-2400) can cause instability. Check your motherboard manual for slot priority (usually slots 2 & 4 for dual-channel setups).
What do I do if my PC won’t boot after installing RAM?
First, double-check that the RAM is fully seated (press down until you hear a click). If it still doesn’t boot, reseat the RAM or try a different slot. If the issue persists, test the RAM sticks one at a time to rule out defects. Remember: Some motherboards require BIOS updates for new RAM!
Is it worth buying the most expensive RAM for my PC?
Not necessarily! Focus on compatibility (check your motherboard’s max capacity and speed) and value. For example, a 16GB DDR4-3200 kit might be pricier than a 16GB DDR4-2400 kit, but if your CPU supports it, the extra speed can boost performance in games and multitasking. Tip: Use Crucial’s scanner to find the best match.
Wrapping up and next steps
Installing RAM in your desktop PC is simpler than you might think—just take your time, follow the steps carefully, and you’ve got this! 💪 Whether you’re upgrading for speed, multitasking, or future-proofing, a little patience ensures a smooth process with no stress.
Now that you’re ready, why not boost your system further?
- 🔧 Clean up your build: Organize cables, dust your case, or upgrade other components like storage.
- 🎮 Optimize performance: Tweak BIOS settings or install a fresh OS for peak efficiency.
- 📚 Learn more: Dive into overclocking, cooling solutions, or gaming setups next!
Your PC’s new memory is just the beginning—what’s your next upgrade? 🚀